
Receipt Layout Maker
Instructions:
- Enter the following information into the designated fields:
- Store name
- Address
- Phone number
- Email address
- Website
- Add item details for each purchased item, including:
- Item description
- Quantity
- Unit price
- Line total
- Provide payment information:
- Payment type (e.g., cash, credit card, etc.)
- Amount tendered
- Change due
Output:
[Store Name]
[Address]
[Phone Number]
[Email Address]
[Website]
Date: [Date]
Receipt Number: [Number]
Items:
| Description | Quantity | Unit Price | Line Total |
|---|---|---|---|
| Item 1 | 1 | $10.00 | $10.00 |
| Item 2 | 2 | $5.00 | $10.00 |
| … | … | … | … |
Subtotal: $20.00
Tax: $2.00
Total: $22.00
Payment:
| Type | Amount |
|---|---|
| Cash | $25.00 |
| … | … |
Change Due: $3.00
Thank you for your purchase!## Receipt Layout Maker
Executive Summary
A receipt layout maker is an essential tool for businesses of all sizes. It allows you to create professional-looking receipts that accurately reflect your brand identity. With a variety of templates and customization options available, you can easily create receipts that meet your specific needs.
Introduction
A receipt is a document that provides proof of purchase or service. It typically includes information such as the date, time, and amount of the transaction, as well as the items or services purchased. A well-designed receipt can help to build trust and rapport with customers, and can also be used for marketing purposes.
FAQs
1. What are the benefits of using a receipt layout maker?
There are many benefits to using a receipt layout maker, including:
- Professional-looking receipts: A receipt layout maker can help you to create receipts that look professional and polished.
- Accurate receipts: A receipt layout maker can help you to create receipts that are accurate and error-free.
- Customized receipts: A receipt layout maker can help you to create receipts that are customized to meet your specific needs.
2. How do I choose the right receipt layout maker?
When choosing a receipt layout maker, there are a few things to consider, including:
- Your business needs: What features are important to you in a receipt layout maker?
- Your budget: How much are you willing to spend on a receipt layout maker?
- Your technical skills: How comfortable are you with using technology?
3. How do I use a receipt layout maker?
Using a receipt layout maker is easy. Simply follow these steps:
- Choose a template.
- Enter your business information.
- Add items or services.
- Customize the receipt.
- Save or print the receipt.
Top 5 Subtopics
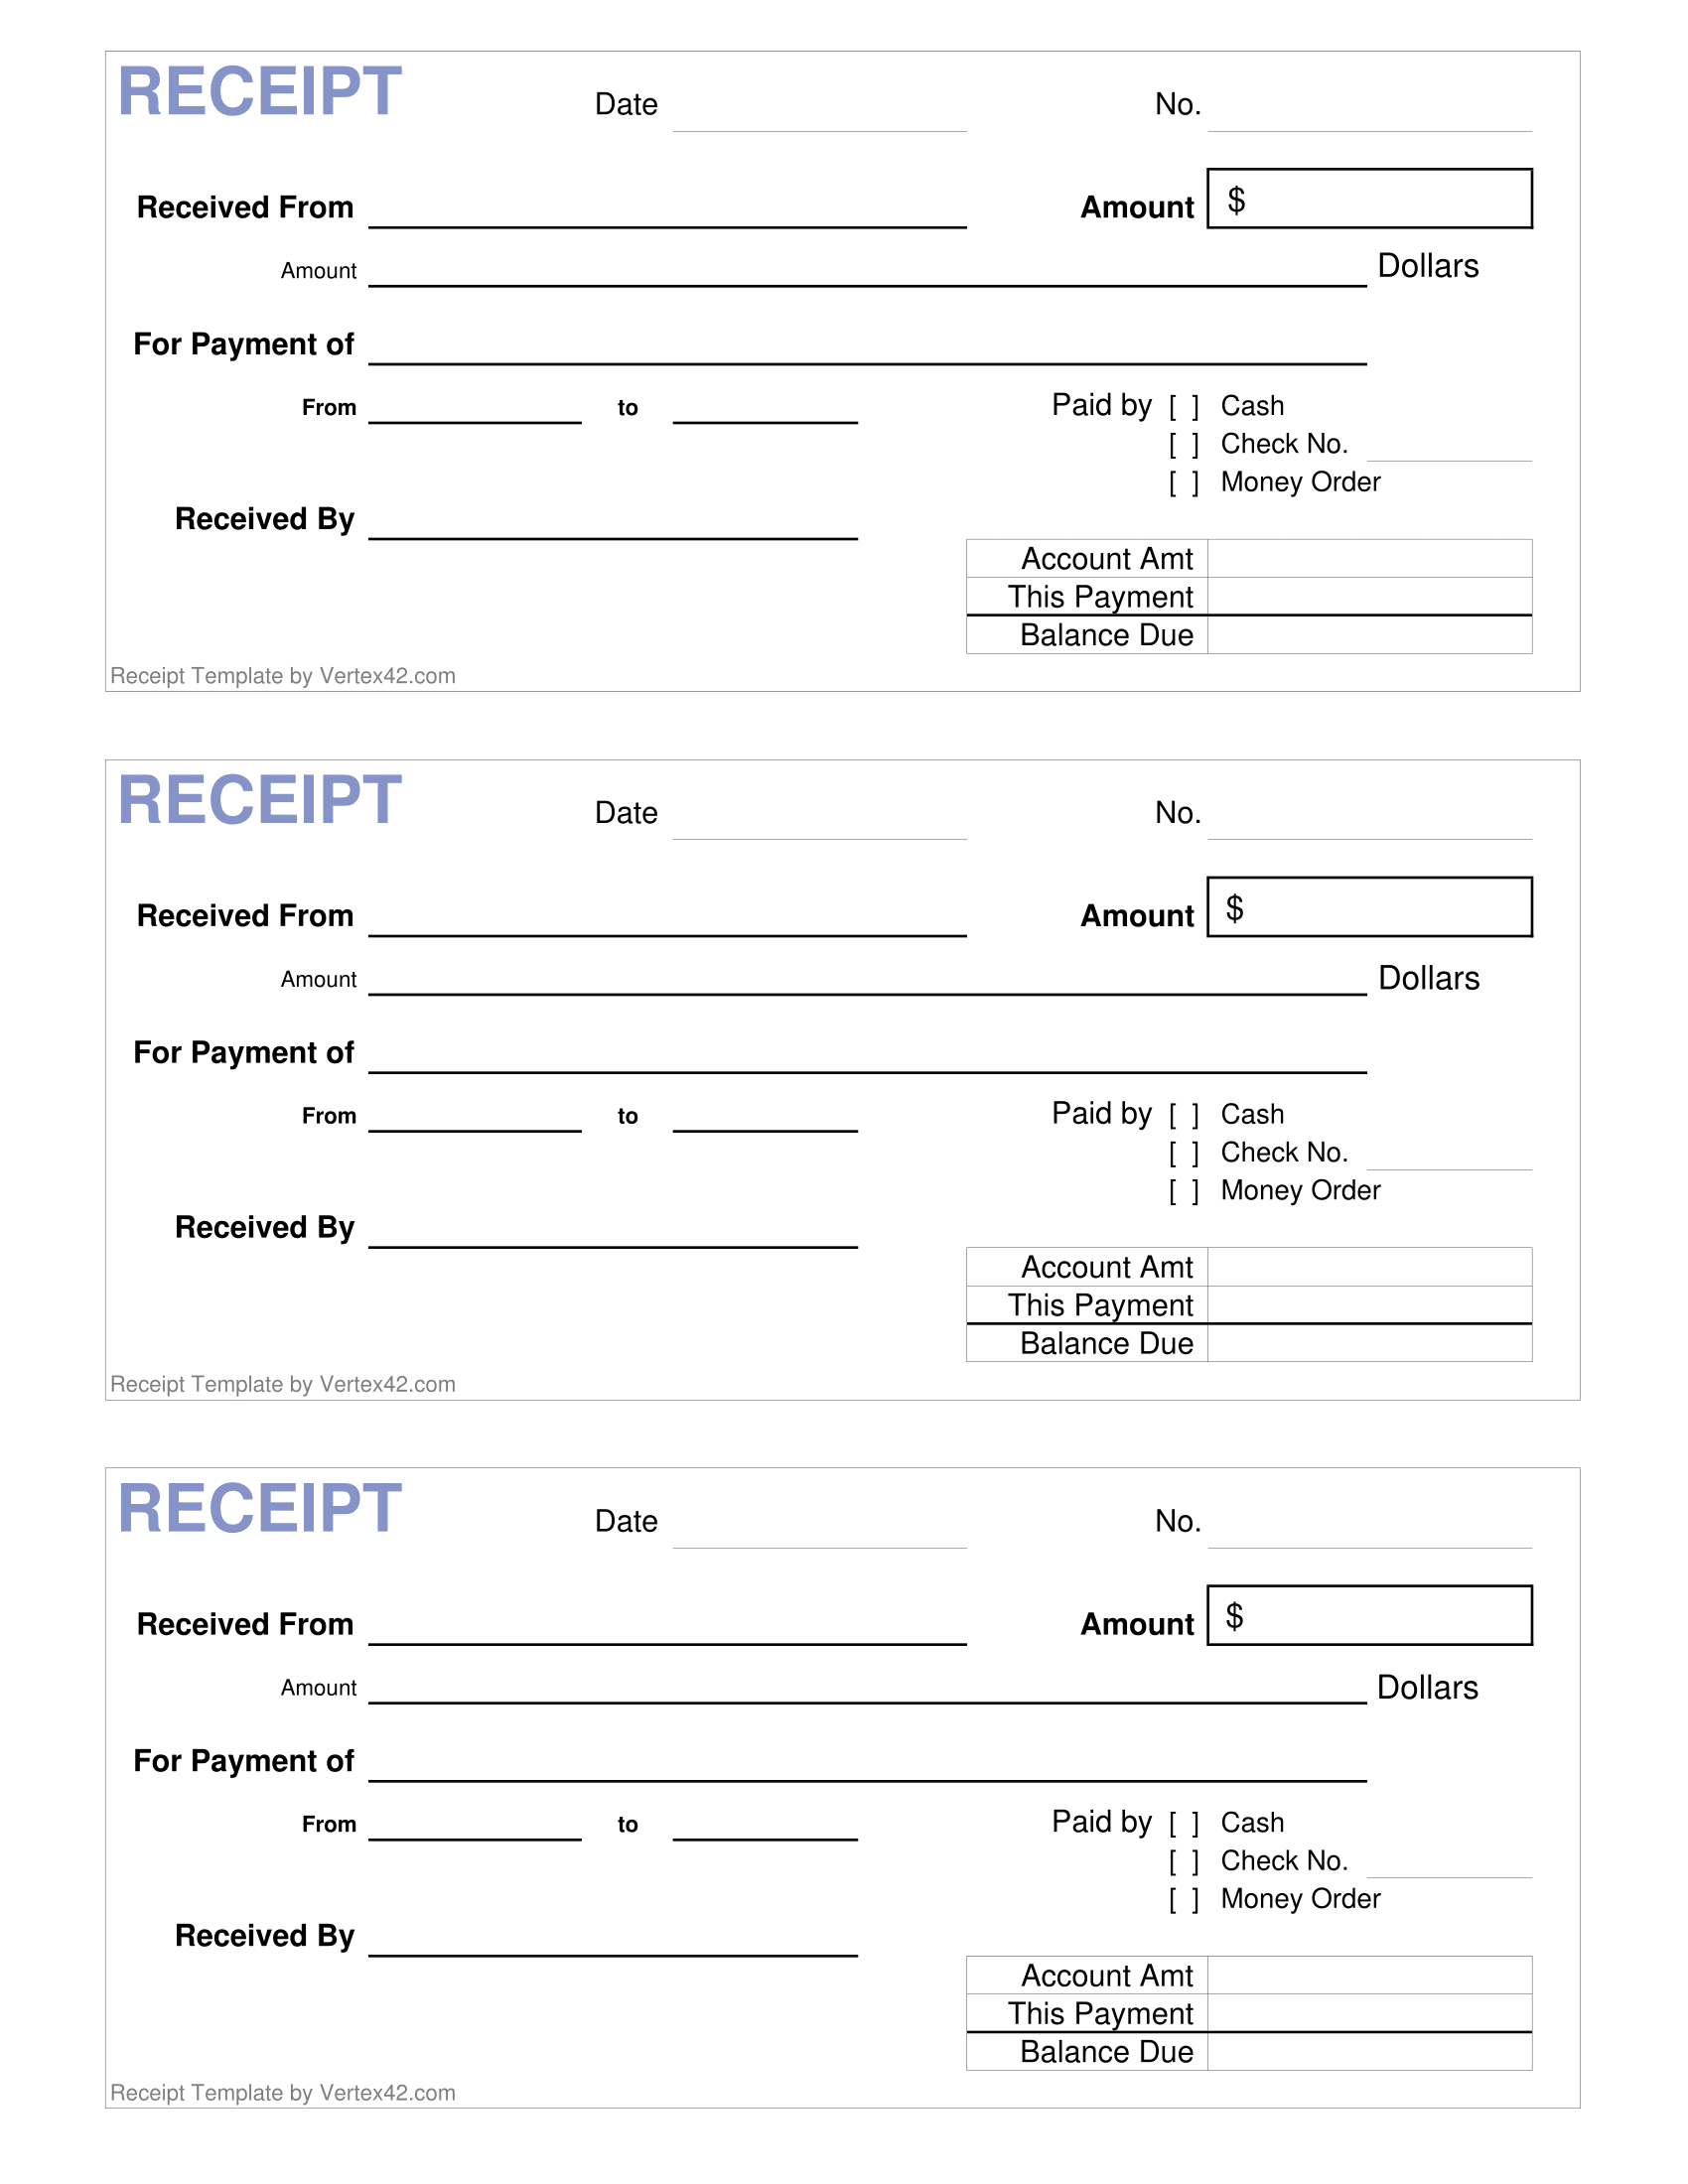
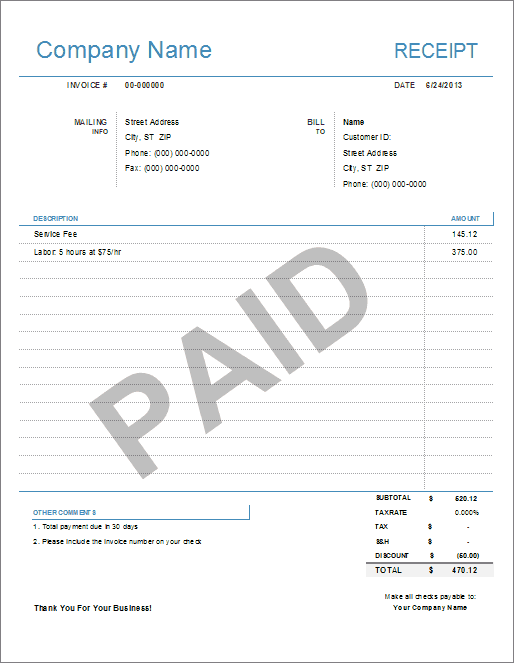
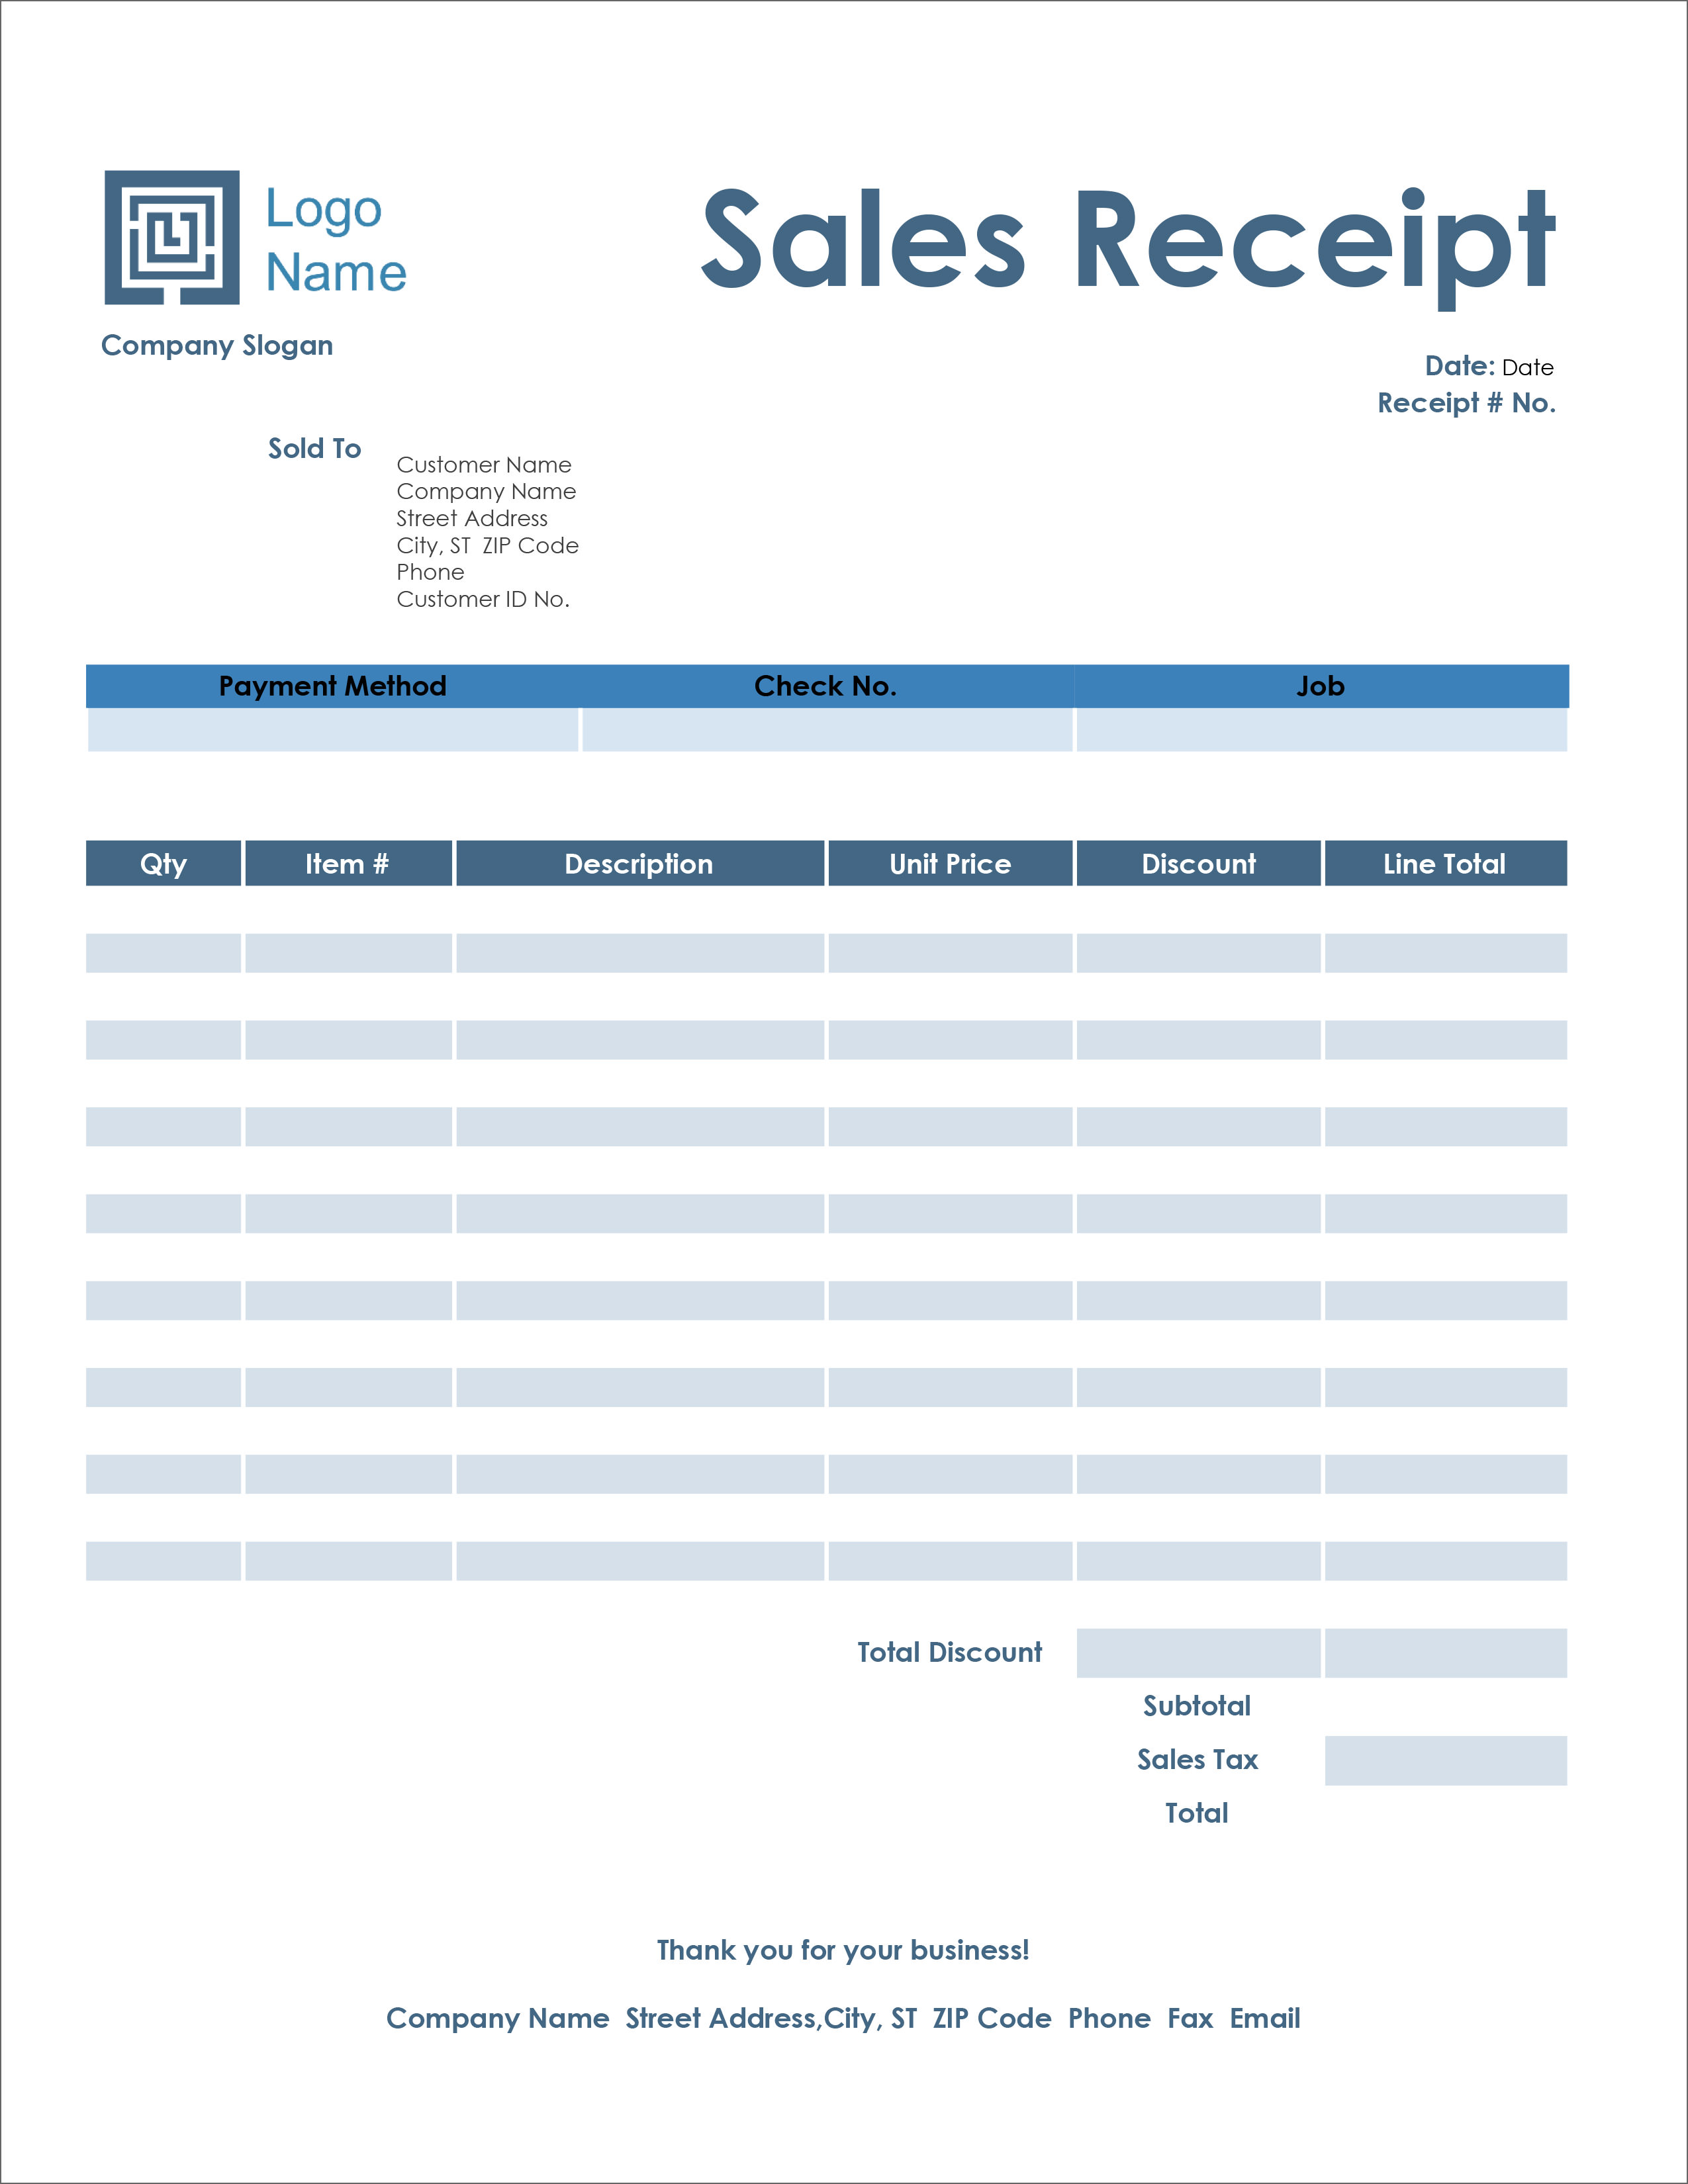
1. Templates
The first step in creating a receipt is to choose a template. Many receipt layout makers offer a variety of templates to choose from, so you can find one that matches your brand identity and needs.
2. Customization
Once you have chosen a template, you can customize it to meet your specific needs. You can change the font, color, and size of the text, as well as add your own logo and branding.
3. Items and Services
The next step is to add the items or services that you are selling. You can do this by manually entering the information or by importing it from a CSV file.
4. Calculations
The receipt layout maker will automatically calculate the total amount of the sale, as well as any taxes or discounts that may apply.
5. Printing
Once you have finished creating your receipt, you can print it or save it as a PDF file.
Conclusion
A receipt layout maker is an essential tool for businesses of all sizes. It allows you to create professional-looking receipts that accurately reflect your brand identity. With a variety of templates and customization options available, you can easily create receipts that meet your specific needs.
Keyword Tags
- Receipt layout maker
- Receipt design
- Receipt templates